How to Install Microsoft Graph PowerShell
Install Microsoft Graph with PowerShell 7.5 to Manage Tenant

Table of Contents
Learn How to Install Microsoft Graph PowerShell
If you want to know how to install Microsoft Graph PowerShell, you are in the right place.
Managing Microsoft 365 services like Exchange Online, Teams, and SharePoint has become much easier with the Microsoft Graph PowerShell SDK.
Instead of juggling multiple modules, you can use a single set of commands to work across all Microsoft 365 workloads.
In this guide, we’ll walk you through how to install Microsoft Graph PowerShell using PowerShell 7.5
Why Microsoft Graph PowerShell?
Traditionally, admins used separate modules such as MSOnline, AzureAD, and ExchangeOnlineManagement.
Many of these are now deprecated or limited. Microsoft Graph PowerShell provides:
• A single unified module for managing Microsoft 365.
• Support for modern authentication (OAuth 2.0).
• Regular updates with new APIs.
• Cross-platform support (Windows, Linux, macOS)
Prerequisites for Microsoft Graph
You should have a minimum of PowerShell 5.1 and .NET Framework 4.2.7
It would be better if you use PowerShell 7.5 to install Microsoft Graph
To check the current PowerShell Version
$PSVersionTable.PSVersion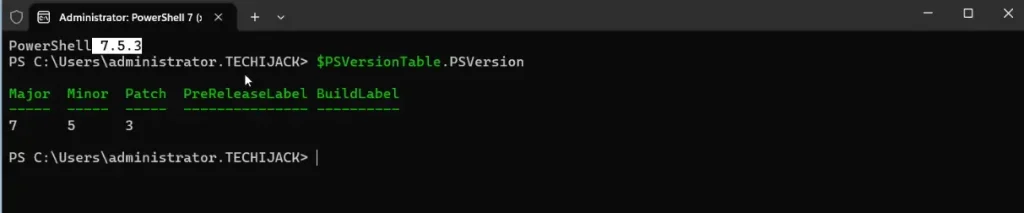
Steps for How to Install Microsoft Graph PowerShell
First of all, let’s update the PowerShellGet to the latest version using the command
Install-Module PowerShellGetNow set the execution policy to the remotesigned
Set-ExecutionPolicy RemoteSigned –ForceOnce you set that, install the Microsoft Graph Module by running the following cmdlet
Install-Module Microsoft.Graph -Scope AllUsersNote: -Scope AllUsers installs it for everyone on the machine.
Also, you can run it without a scope by using the command
Install-Module Microsoft.Graph -Force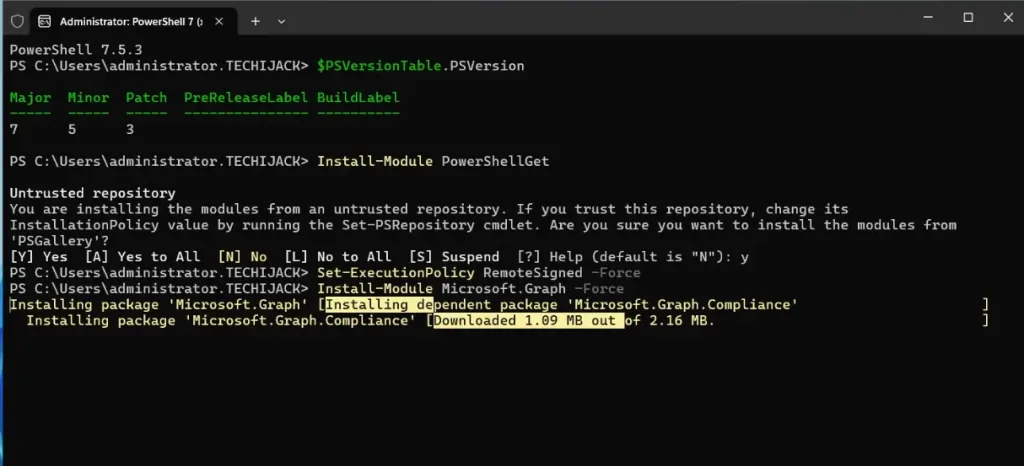
You may be prompted to install the NuGet provider and trust the repository (PSGallery) – type Y to continue.
Therefore, to install the beta module, run the following cmdlet
Install-Module Microsoft.Graph.Beta -Repository PSGallery -Force
Now, verify the installation after it is completed by running the following cmdlet
Get-InstalledModule Microsoft.Graph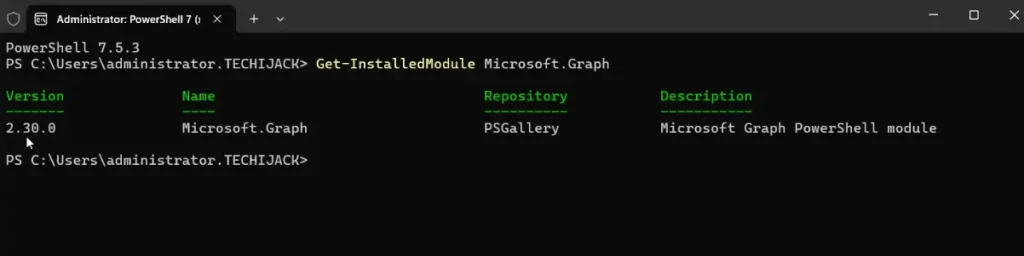
You can now connect with Microsoft Graph
Connect-MgGraph -Scopes "User.Read.All","Group.ReadWrite.All"Or
Connect-MgGraph -Scopes "User.Read.All"
Other Useful Commands to check the Users & Disconnect
Check the users by using the following cmdlet
Get-MgUser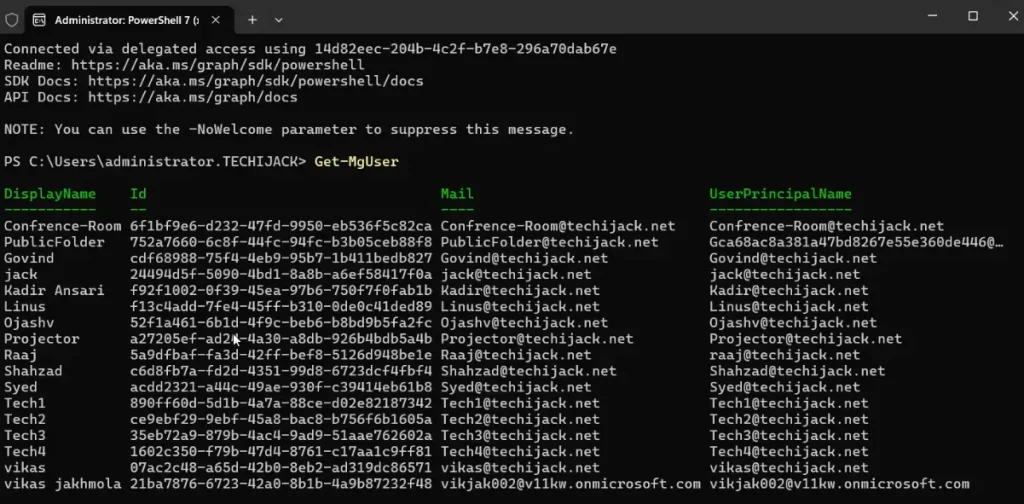
Therefore, to update the Microsoft Graph
Update-Module Microsoft.Graph
To disconnect from Microsoft Graph, run the following cmdlet
Disconnect-MgGraphHowever, if you want to uninstall the SDK, run the following command
Uninstall-Module Microsoft.Graph –AllVersionsTherefore, to remove all the dependency modules, run the following cmdlet.
Get-InstalledModule Microsoft.Graph.* | ? Name -ne "Microsoft.Graph.Authentication" | Uninstall-Module -AllVersions

Uninstall-Module Microsoft.Graph.Authentication –AllVersions
Final Thought
Installing and using Microsoft Graph PowerShell is straightforward and sets you up for modern, secure, and centralized Microsoft 365 management.
Whether you’re working with Exchange, Teams, or SharePoint, this single module allows you to automate and manage tasks easily.
You may also like more on Microsoft Exchange Tutorials
In case of any disconnect on the post, feel free to contact us at info@techijack.com
Also, to see the complete article in action, watch the video below for how to install Microsoft Graph PowerShell