How to Sync Azure Ad Connect with On-premises AD
In this post, we will download, install, and configure Azure AD connect step by step.
Believing that you are aware of what is ad connect tool.
For a short description.
Azure AD is a tool that synchronizes the on-premises AD to Azure AD.
So, let’s start the process of configuring Azure AD connect step by step.
You can download azure ad from the Microsoft website.
Once you download it, run the setup of the tool as a normal program.
Note: You should have a valid office 365 account to sync on-premises AD with the Azure AD.
Azure AD Step By Step
The first screen you will see about the welcome to Azure accepting the license agreement
Accept the license agreement and click on continue.
The next screen will prompt for the customize or express installation.
In our case, we will be choosing the express installation.
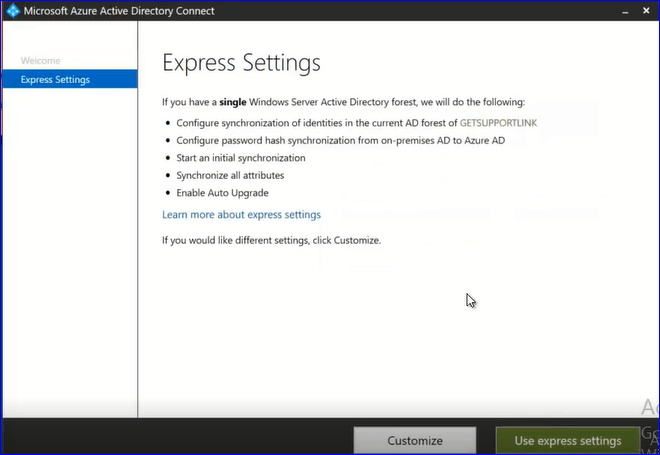
After clicking on Use express settings installation.
It will prompt for the office 365 credentials, so you have to authenticate it by putting your credentials.
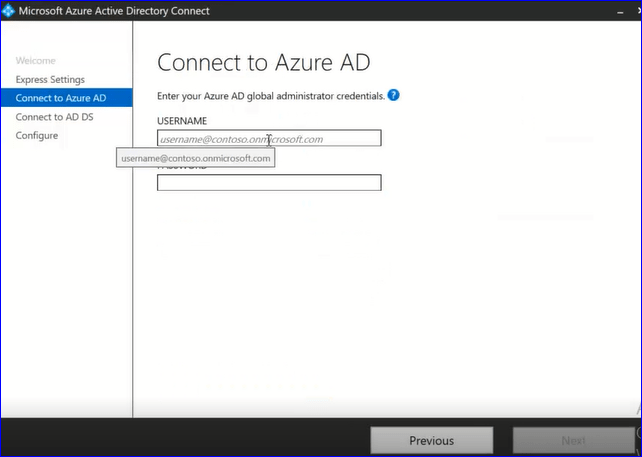
After authenticating your office 365 admin credentials
The setup will prompt for the admin credentials for on-premises AD DS

Once you put the on-premises credentials.
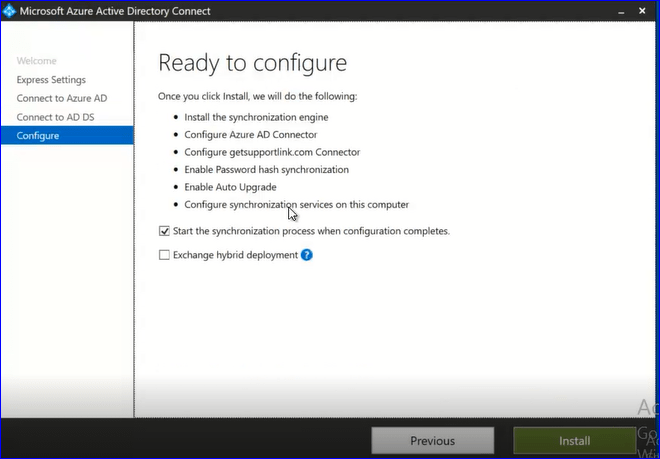
You will see the screen ready to configure.
You can select the option to start the sync process when configuration completes.
However, if you want to migrate your Exchange server as well.
Then select the option for Exchange hybrid deployment as well as.
If everything goes fine.
You will see the configuration complete.
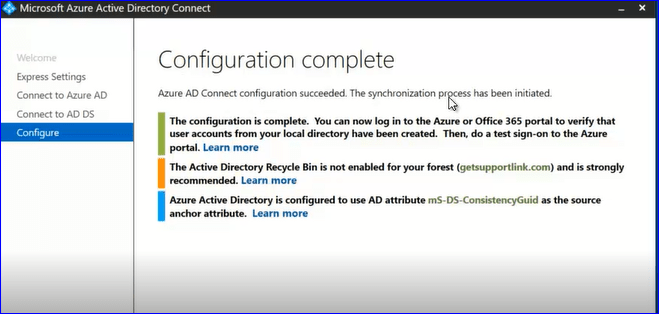
Note: In this case, we synchronize the complete On-premises AD DS to Azure AD.
Also, Domain ownership is already verified.
Moreover, if you want to sync Organizational units in a customized way, you can do that as well.
Azure AD Customize Sync
You can do that, by running again the Azure ad connect step by step.
Now choose the option for customize synchronization option
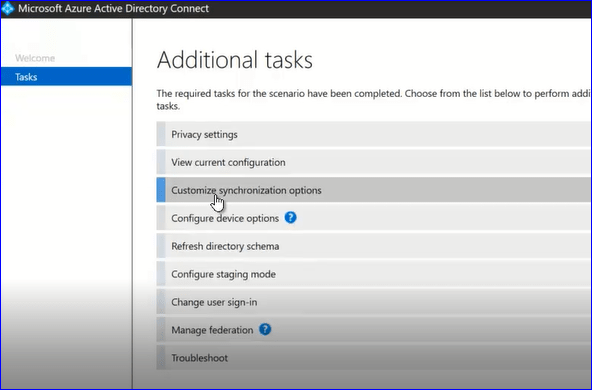
Once you click on the above option.
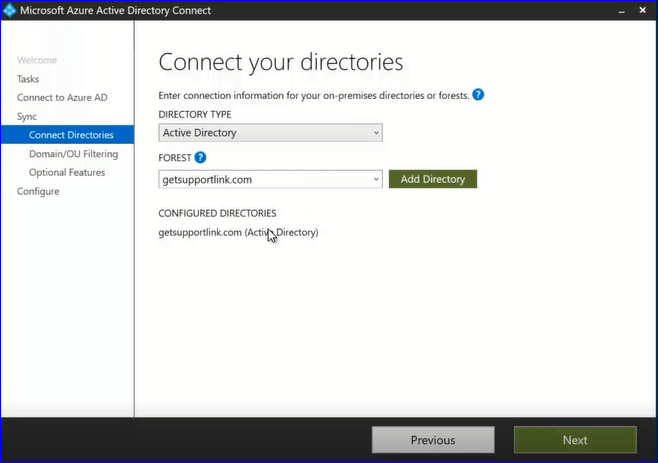
The setup will detect the on-premises Active Directory forest.
However, if you want to add another forest to sync, you can do that.
So, here in our case, our forest is getsupportlink.com and will proceed with that.
Now you have an option to customize the OU filtering.
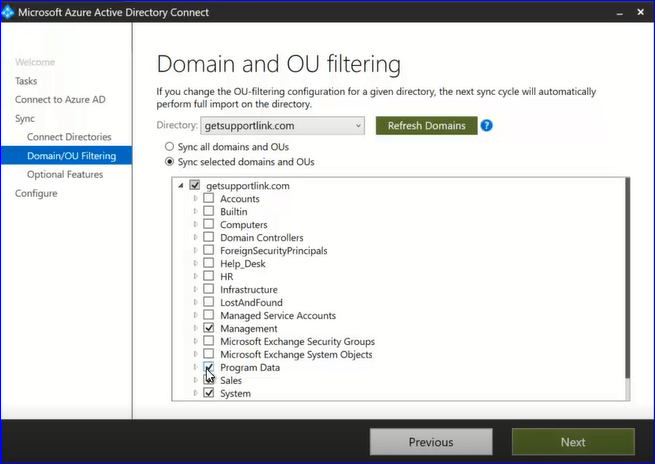
Proceeding next will configure the custom ou sync.
After completing the process.
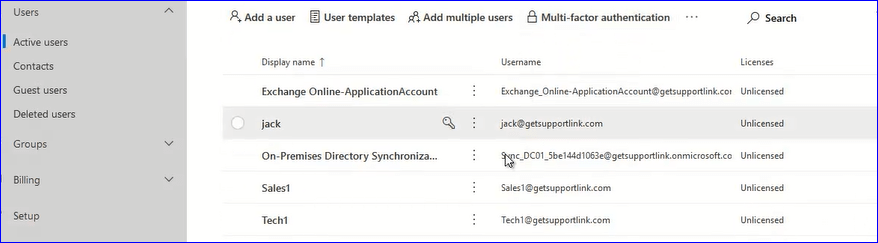
You can log on to your office 365 admin panel and search for active users.
Now only those users will be shown, that you decide to sync.
Furthermore, for more clearance, watch the following video.
For more learning Visit Youtube Channel Techi Jack